This post was sponsored by Smile Brilliant. All opinions are my own.
As a first time mom and Registered Nurse, coffee is something I depend on. Unfortunately because I drink so many cups a day, my teeth over time have become stained and are no longer the pearly-whites they were when I was younger. If you know me well, you know that I am big on hygiene and cleanliness. I brush my teeth at least 3x a day and I am always using mouthwash, flossing, or chewing gum to keep my smile (and breath) fresh and clean. The one thing that continues to bother me, day in and day out, is my off-white teeth.
In the past I have used many different techniques to whiten my teeth. I have chewed countless packs of whitening gum, used over 5 boxes of Crest white strips, and I have even brushed my teeth with baking soda. Over the counter whitening strips worked for me at first, however they are costly and over time lead to my teeth feeling super sensitive and in pain just minutes after applying.
I had heard about Smile Brilliant via social media. I had seen numerous bloggers post about this awesome whitening service and I was intrigued. When Sarah reached out to me to me asking if I would like to do a review of the product, I was super excited. Why wouldn’t I want my teeth looking shiny and white? Bring on “the perfect smile”, please.
The process itself was super simple. I told Sarah that I suffer from sensitive teeth and was nervous that using a whitening kit would again leave me in pain. She assured me this would not be the case and told me the ‘sensitive system’ would be perfect for me!
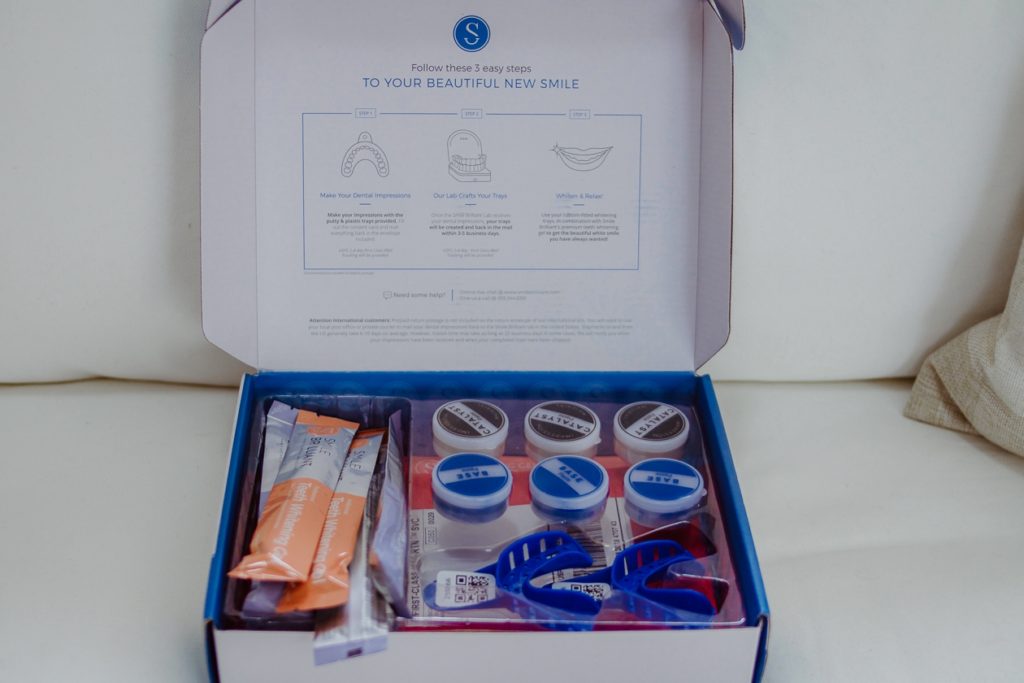
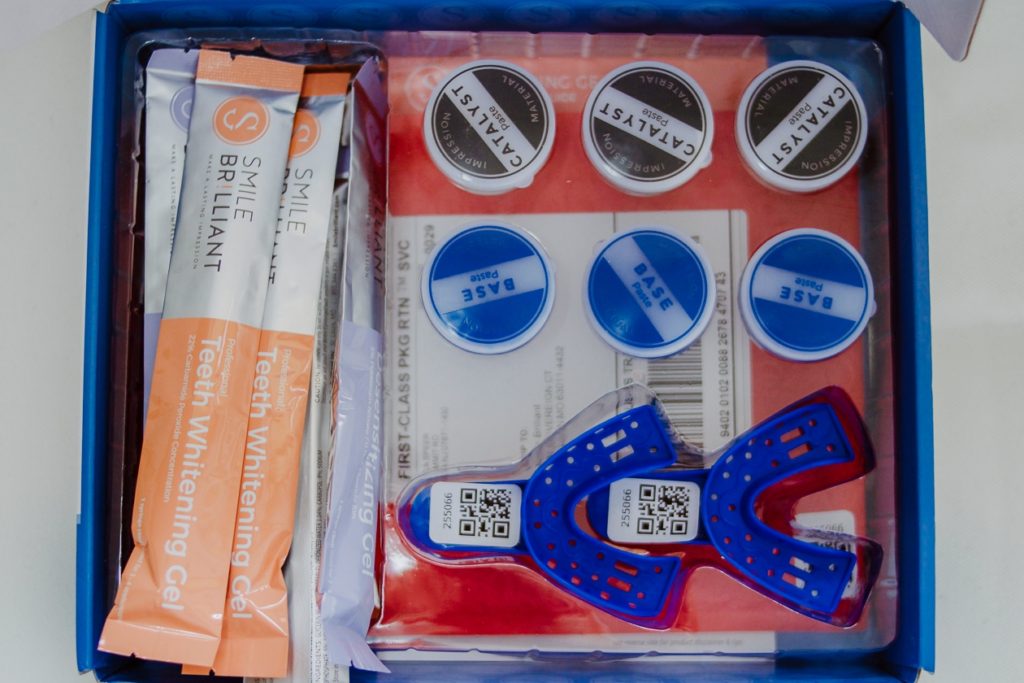
My kit came so fast in the mail. Inside the kit were all of the materials that I needed. It included the whitening gel and desensitizing gel, as well as the trays to make my custom molds for my teeth. Once you make the impressions and send them back to the lab, you will receive in return your custom fitted trays for your teeth. How cool is that?
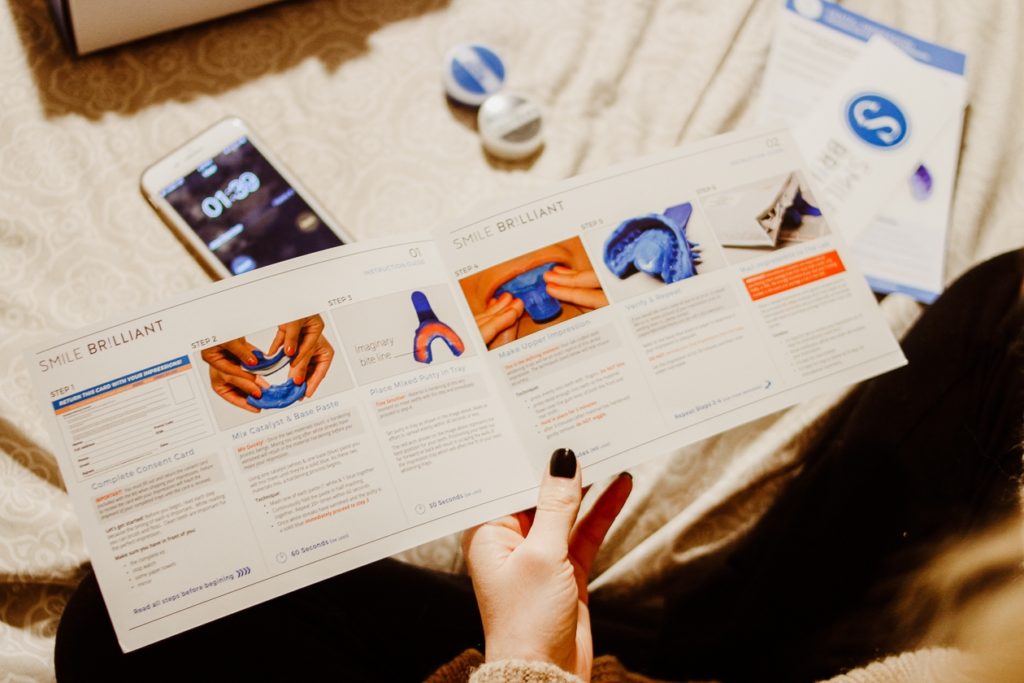

Making the impressions of my teeth was quite easy. I always get overwhelmed when it comes to multiple steps and time crunches, but it was super simple after reading the directions and looking at the picture examples provided. The most important part about this part of the process is timing. Making sure that you don’t take “too long” to get the mold onto the trays before making your teeth impressions, is imperative.
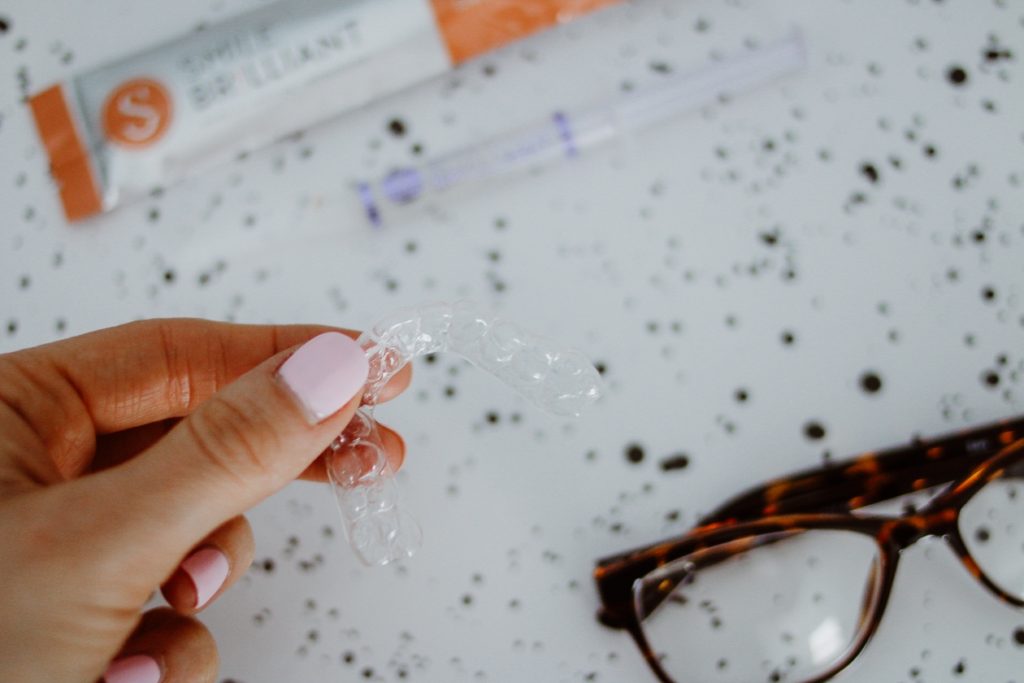
After impressions were done, they were sent off to the lab (in the pre-paid envelope included in the kit). I then waited roughly 10 days before receiving my custom trays molds back in the mail. The trays came in their own storage case, perfect for traveling. The trays were not only light and flexible, but fit my teeth perfectly and were surprisingly comfortable.
I chose to whiten my teeth at times that were convenient for me. I mostly did my whitening process after Landon went to bed when I was watching tv or reading on my bed. I kept the trays in for an hour at a time. The desensitizing gel really helped to keep my teeth and gums from feeling any pain. I was quite impressed with the simplicity of the process.
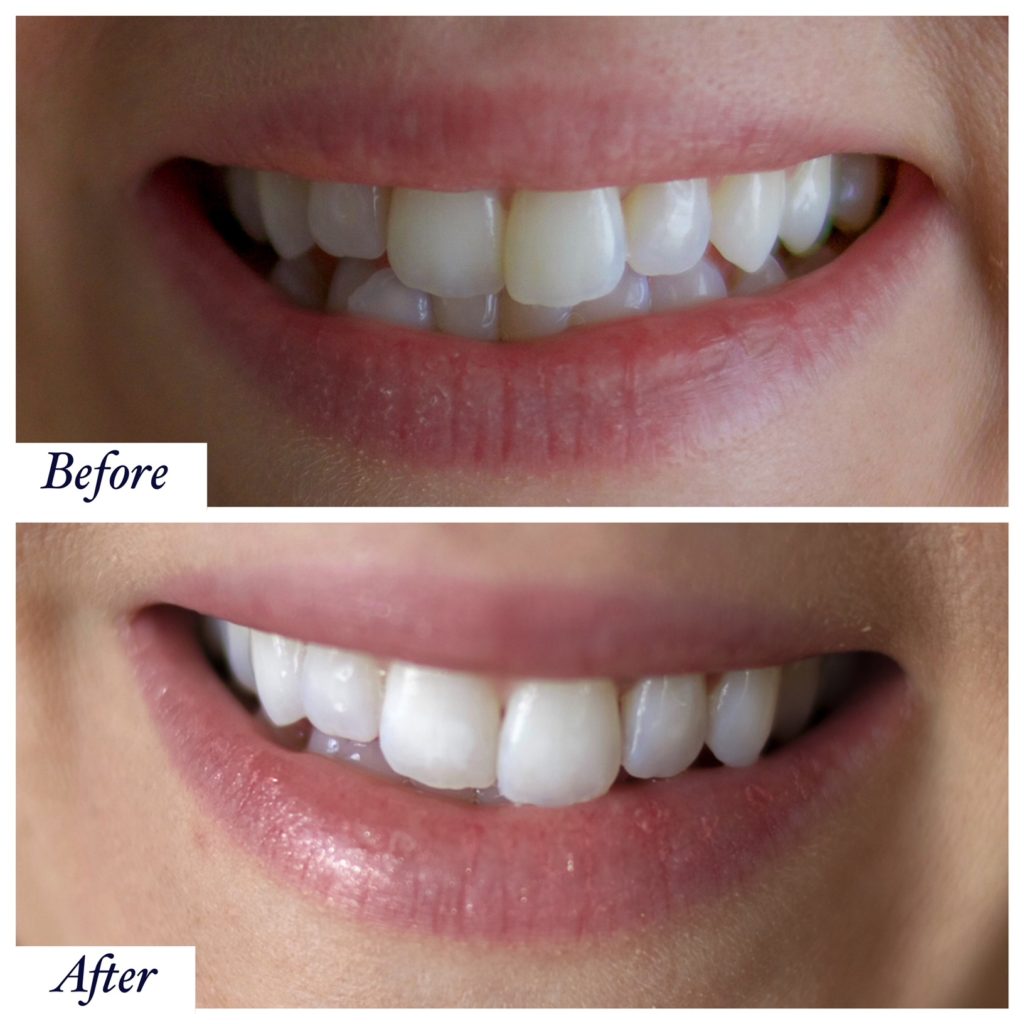
Of course, what would a good review be without BEFORE and AFTER pictures? Here is my proof that Smile Brilliant really does work…

Have I convinced you just yet? Do you want to try it out for yourself? Well good thing… I have a coupon code for you! You can get 15% off your total order by using coupon code: asthespeeritmovesyou15 at checkout!
In addition, Smile Brilliant was awesome enough to offer one of my lucky followers a FREE kit of their own to try! Click here to sign up for my giveaway. All that you have to do is enter your name and email address. It’s as simple as that! =) This giveaway is for a $149 Smile Brilliant credit. It is open for 1 week and it is open to USA, UK, Australia and Canadian residents. I cannot wait to announce the winner! BEST OF LUCK EVERYONE!


Leave a Reply